Form - Signature on submit and 2FA
In this guide, you will learn about the two types of forms available within the system, each designed to meet different needs:
Standard Form:
This is the basic form type used for collecting general information from contacts, accounts, or relations. It is versatile and can be customized according to your requirements. Standard forms do not automatically generate signatures or PDFs.
Signatory Form:
This advanced form type is specifically designed for documents that require electronic signatures. When you use a Signatory Form, it not only collects information but also automatically generates a PDF of the completed form and sends it for E-Signature. This type of form is essential for legally binding documents, contracts, or any other forms that require formal approval.
Creating Your First E-signature for a Standard Form document
Create a Contact Form Type
- Go to My Account, then click on Company .
- On the left, scroll down and Select Forms.
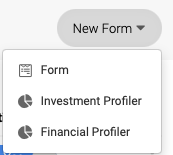
- At the top of the page, Click on New Form, then select Form.
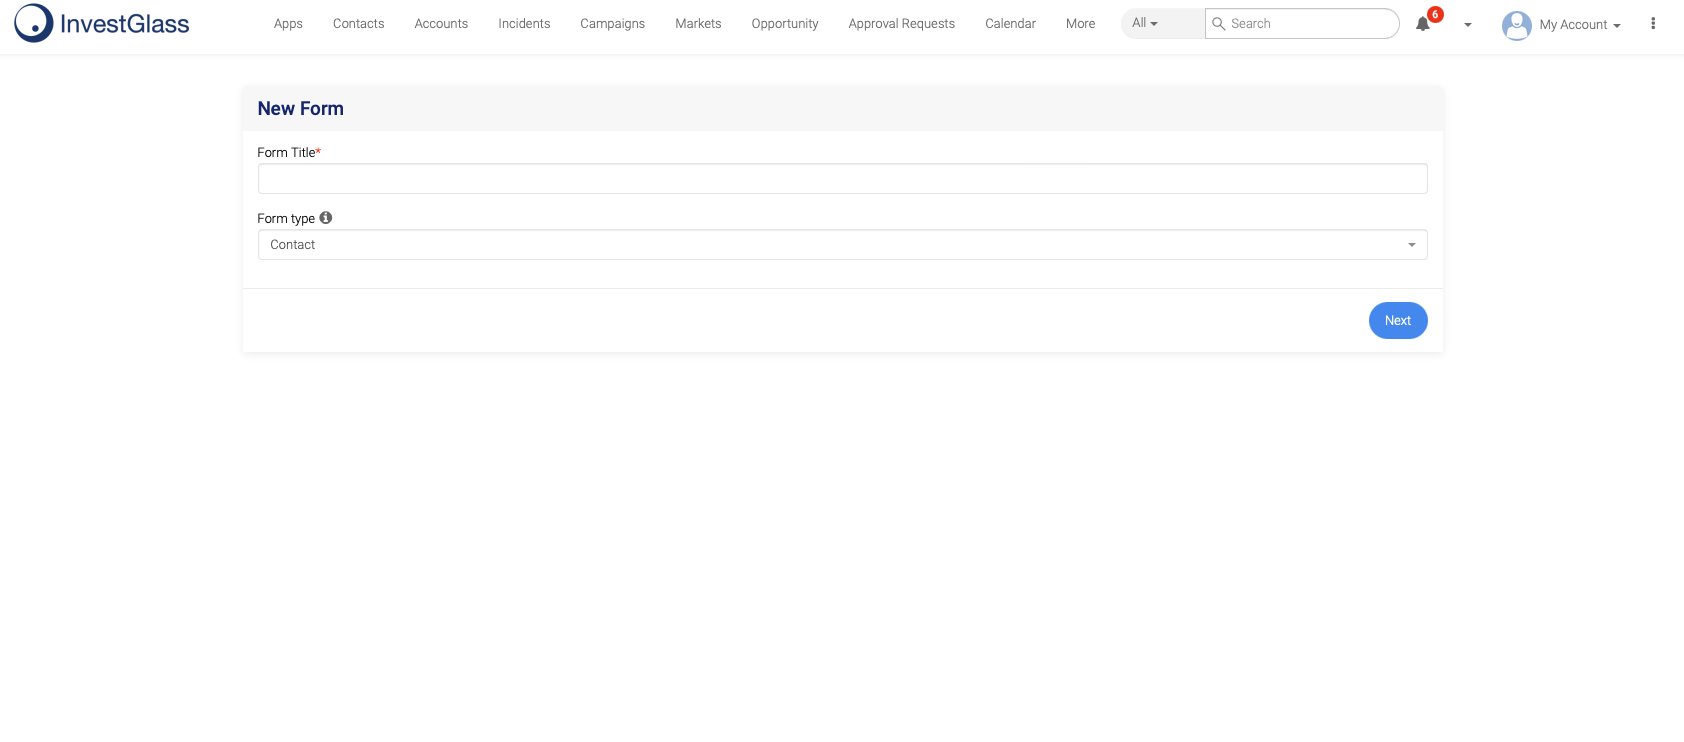
- A "New Form" window will open. Enter the Form Title and select Contact as Form type.
Click Next to create the new Form.
- For more information on how to create custom Forms, please refer to these pages:
Associate an E-Signature to the Contact Form Type (Mandatory)
-
To associate an E-Signature with the Contact Form Type,
ensure that the Form Type used is a Contact Form Type. -
Go to the General Tab and Scroll to the Options section.
Ensure that Save export PDF into CRM documents is enabled (Yes) to receive the Form result as a PDF in your Documents whenever the Contact fills out and submits the form. Don't forget to click on Save & Close before proceeding.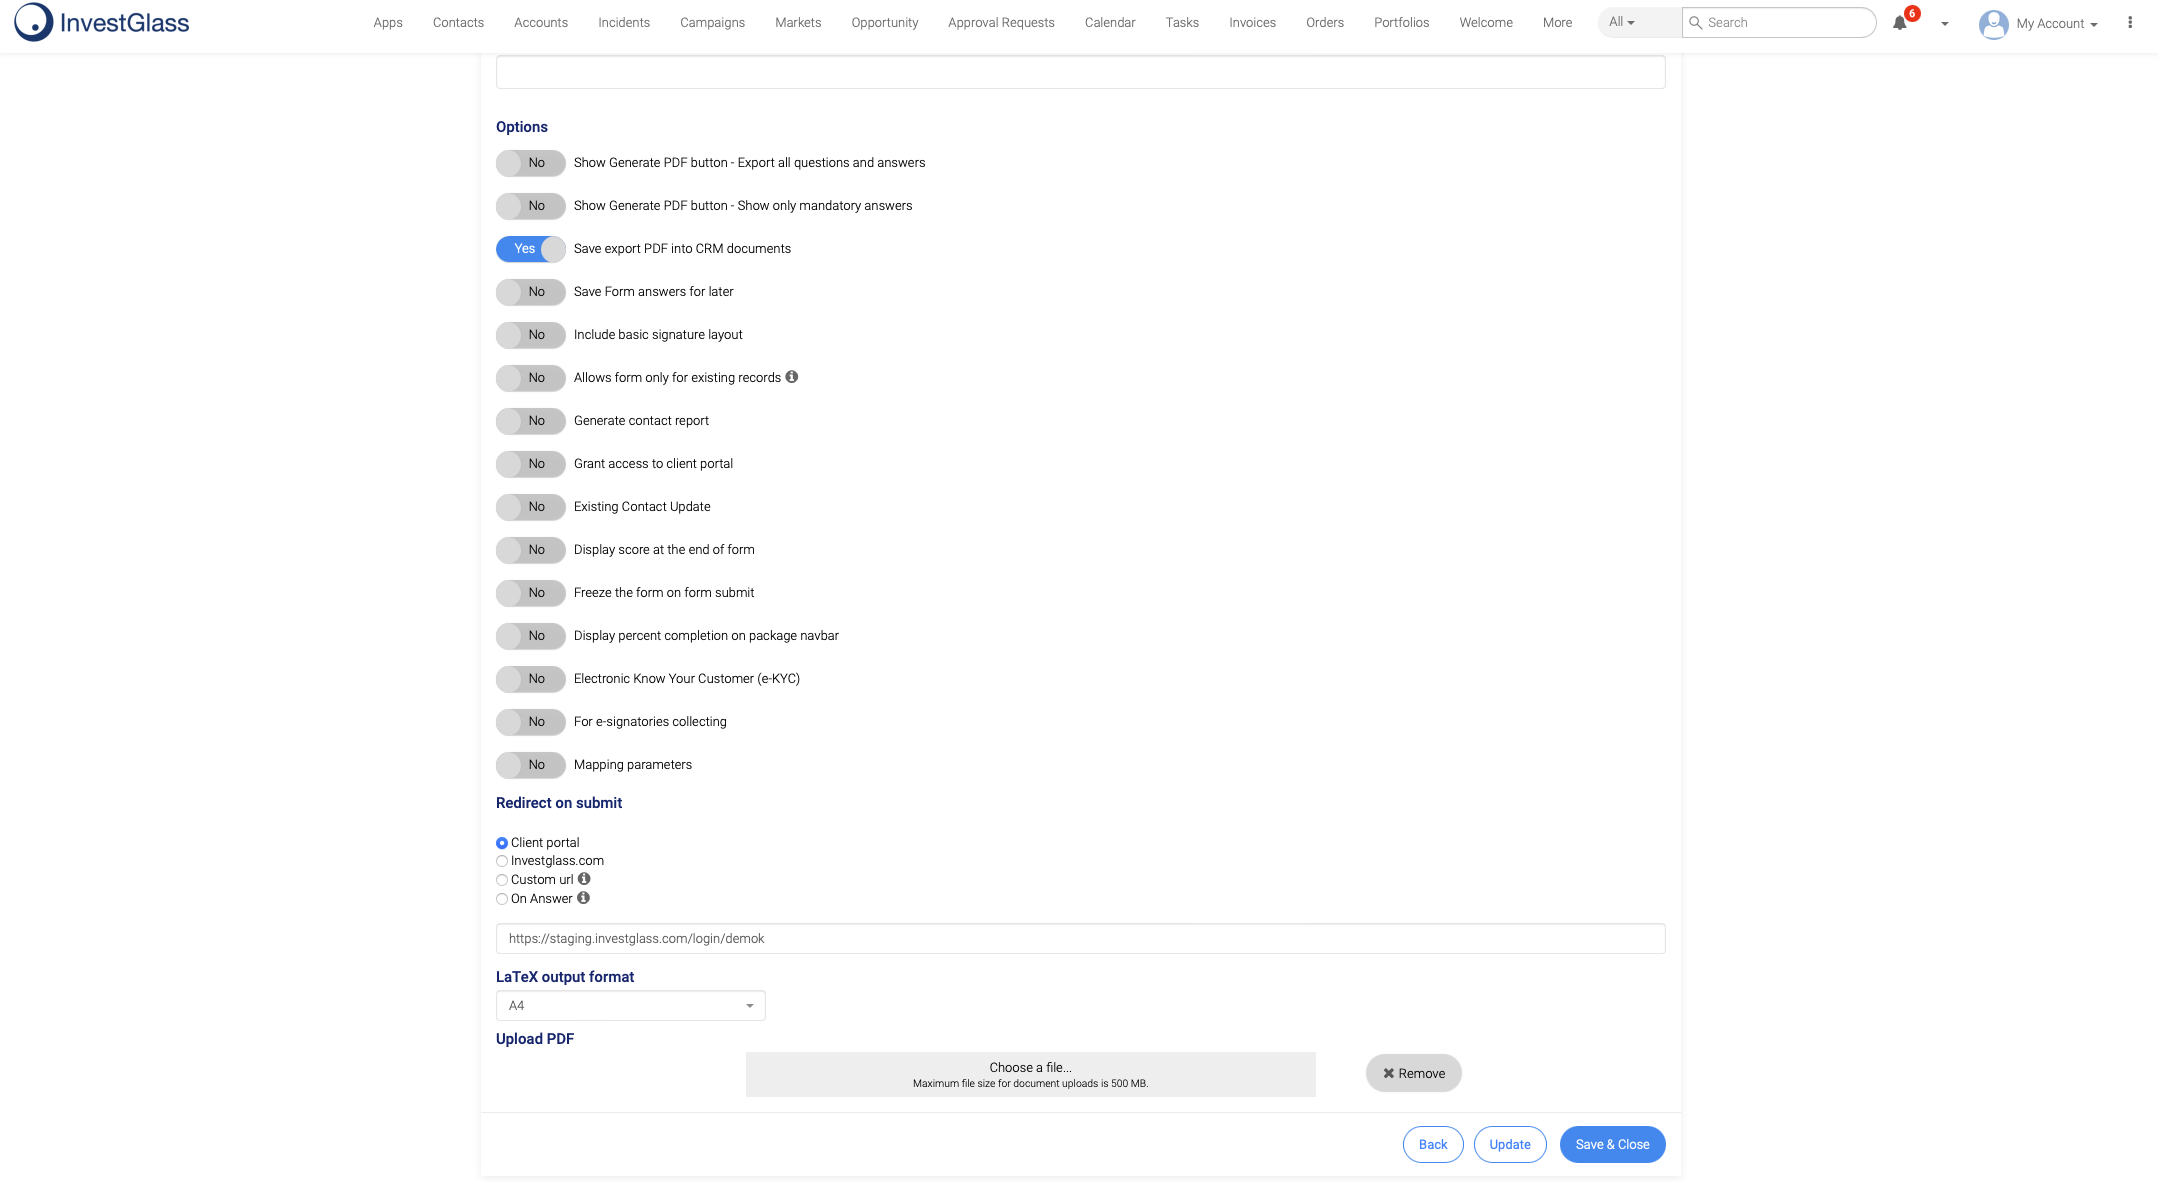
-
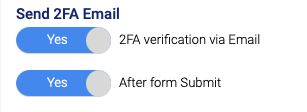
Go to the Permissions Tab and scroll to the Send 2FA Email section.
Make sure 2FA verification via Email is enabled (Yes).
You can also decide if the 2FA will be prompted before or after the form submission.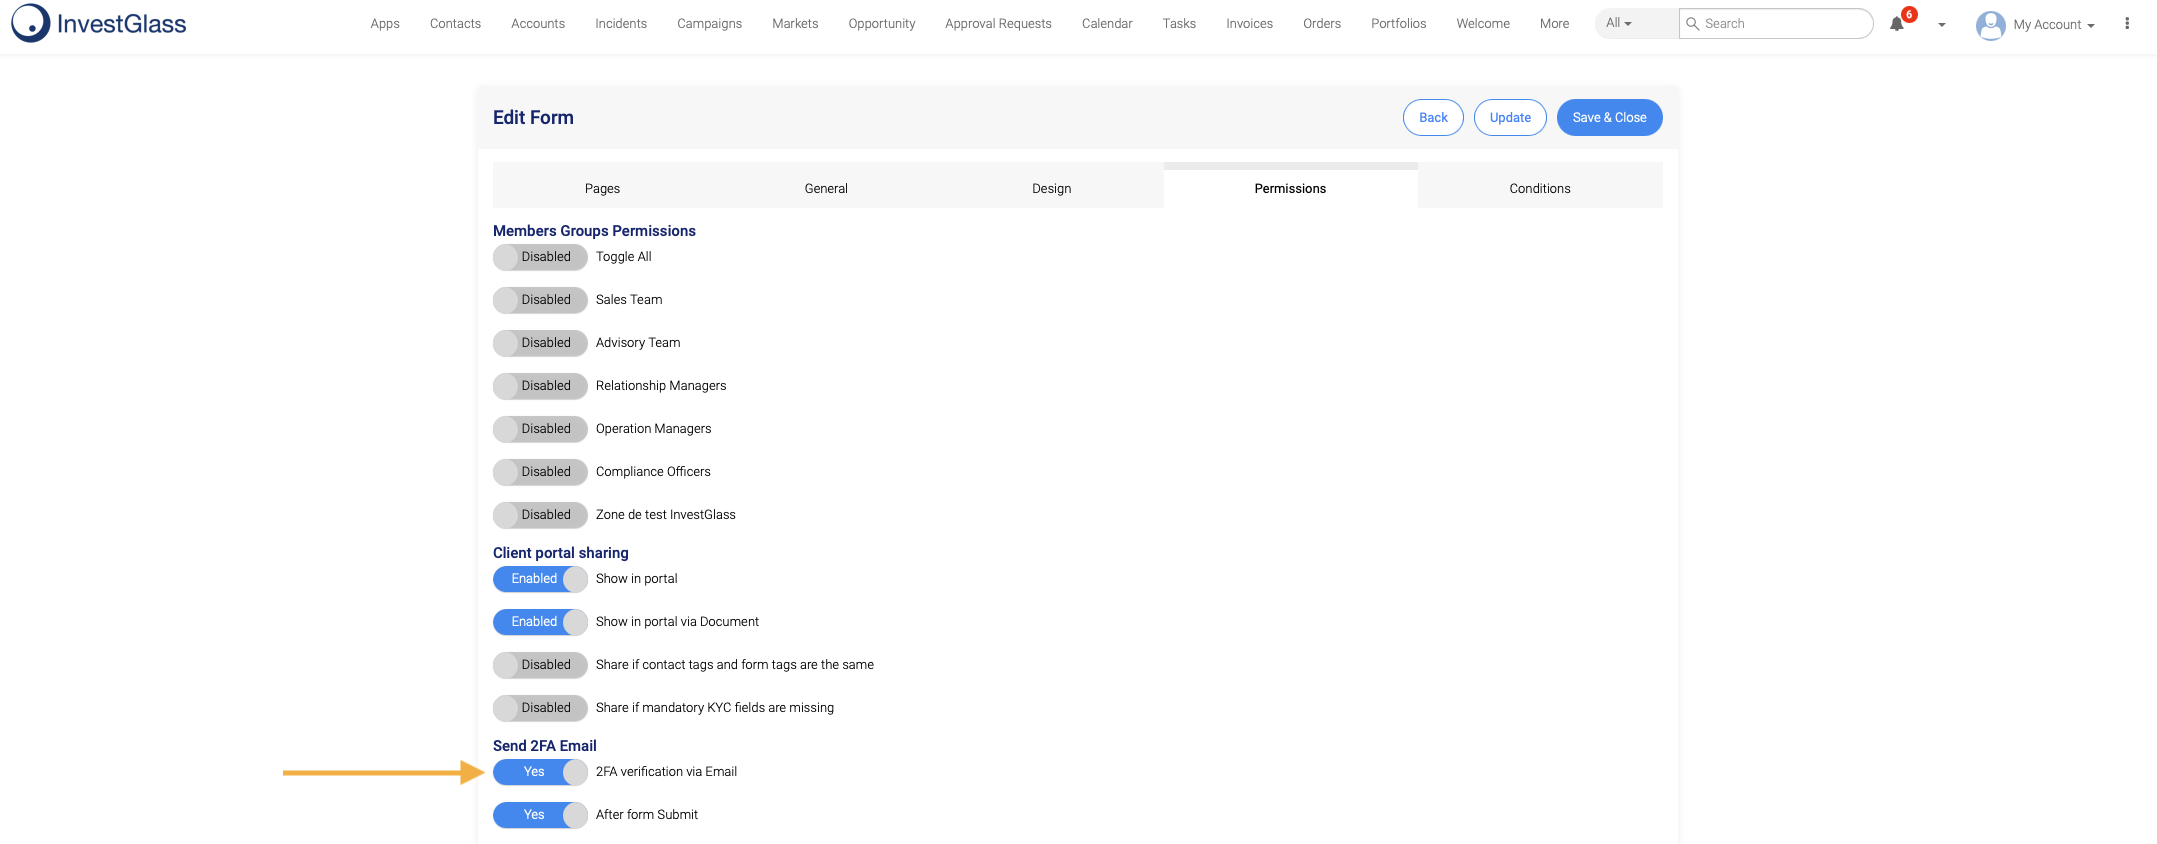
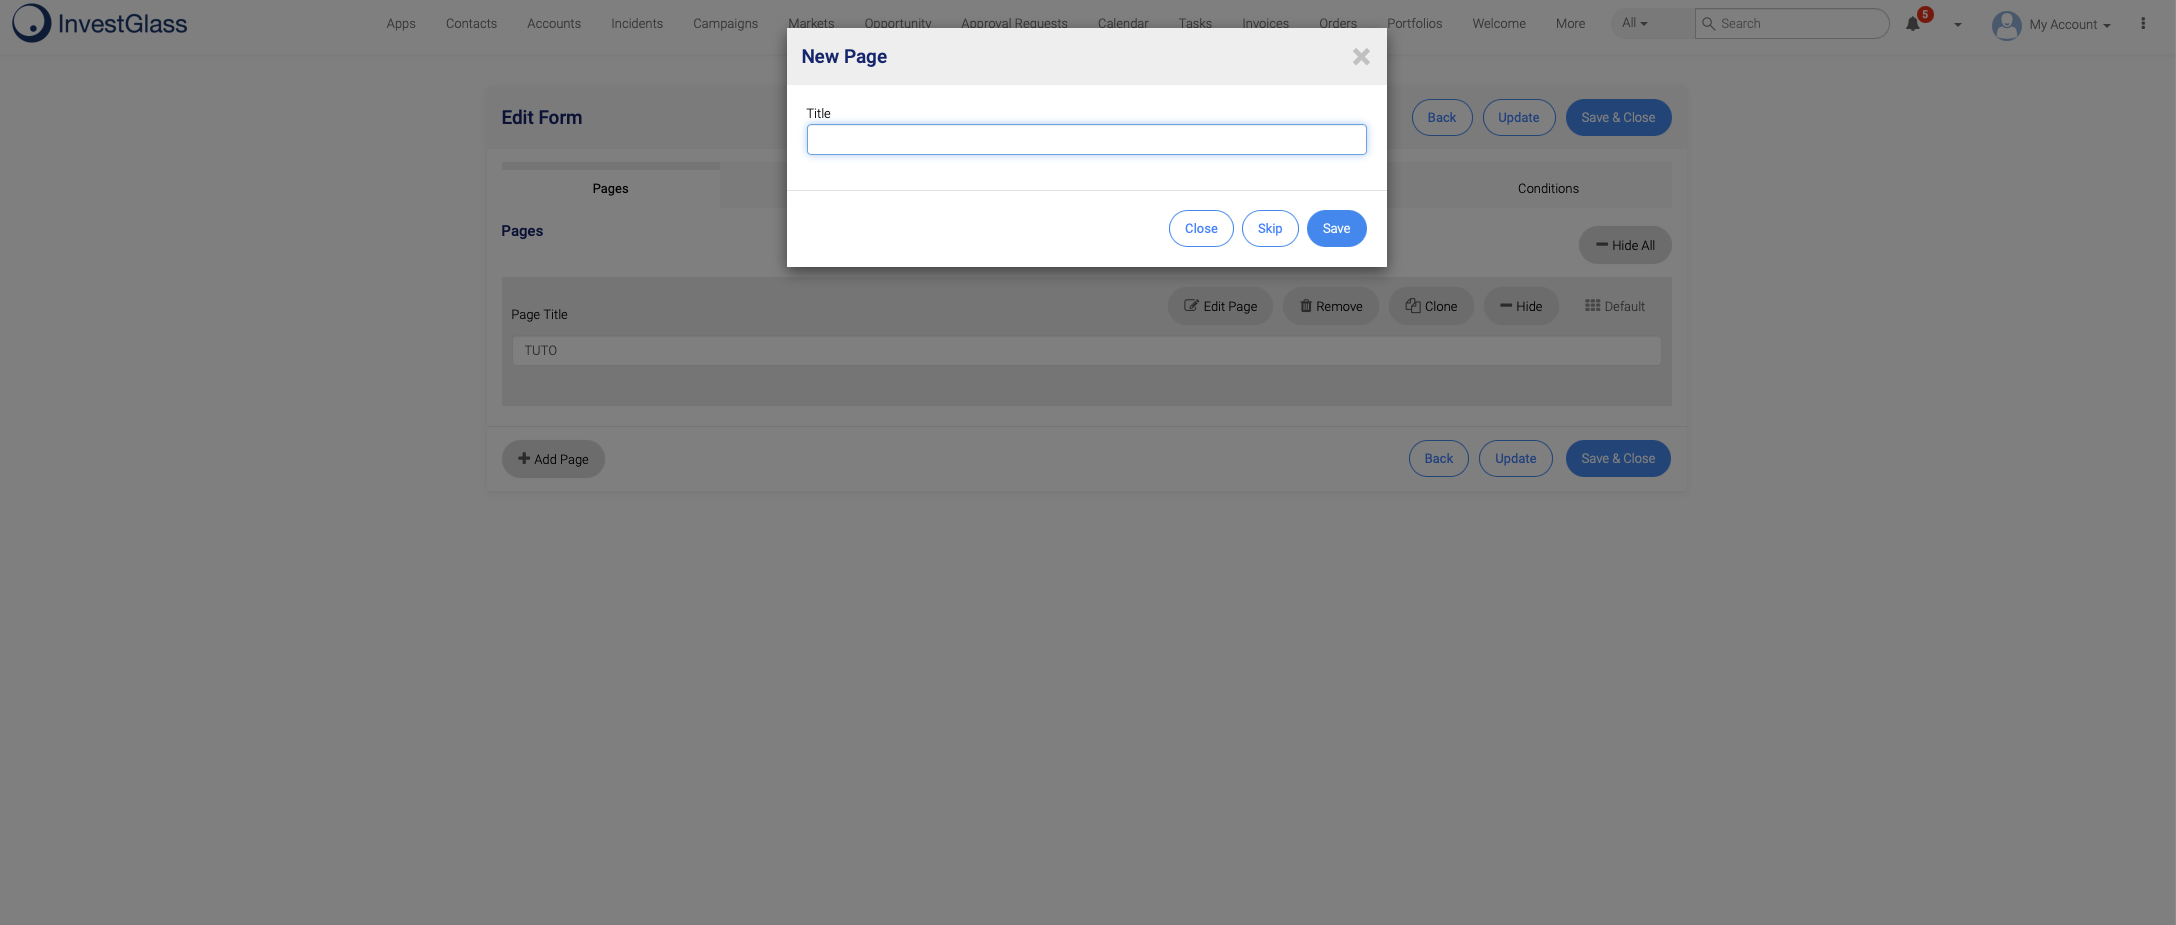
- Once you have completed the technical setup, and if your Form Page is not already created, go back to the first tab Pages, click on + Add Page, enter a Page Name, and click Save.
-
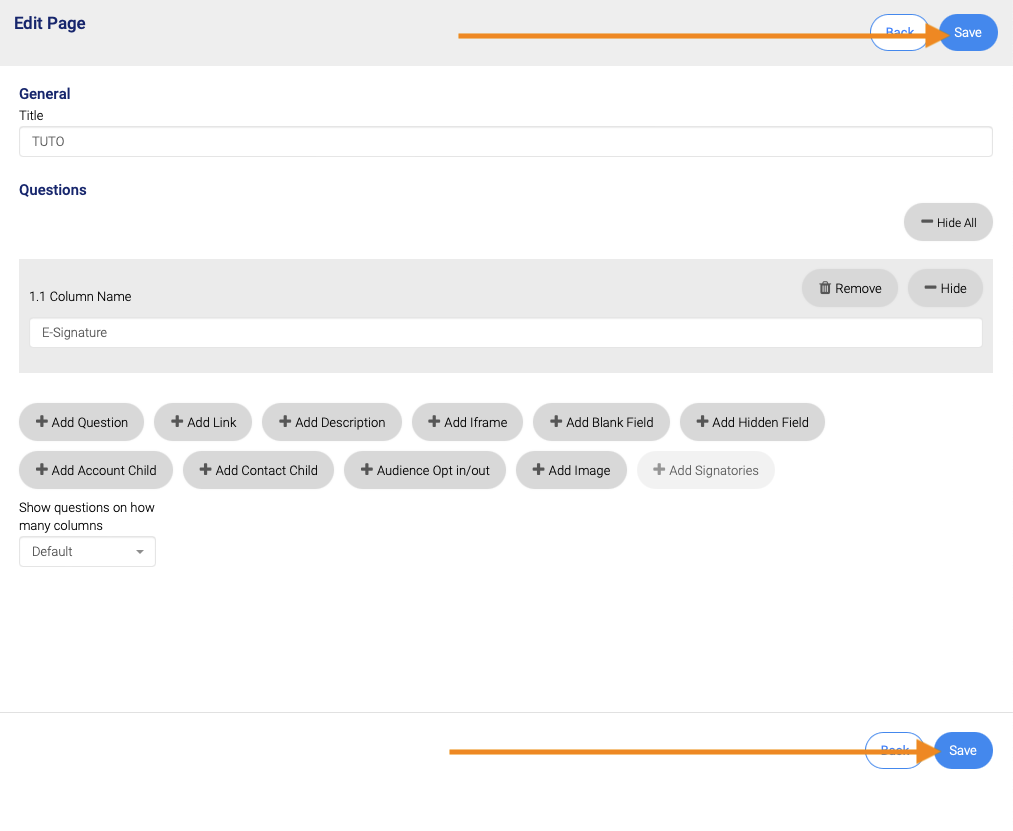
You can then edit the page by clicking on Edit Page and add the E-Signature Requirement by clicking on
+ Add Signatories.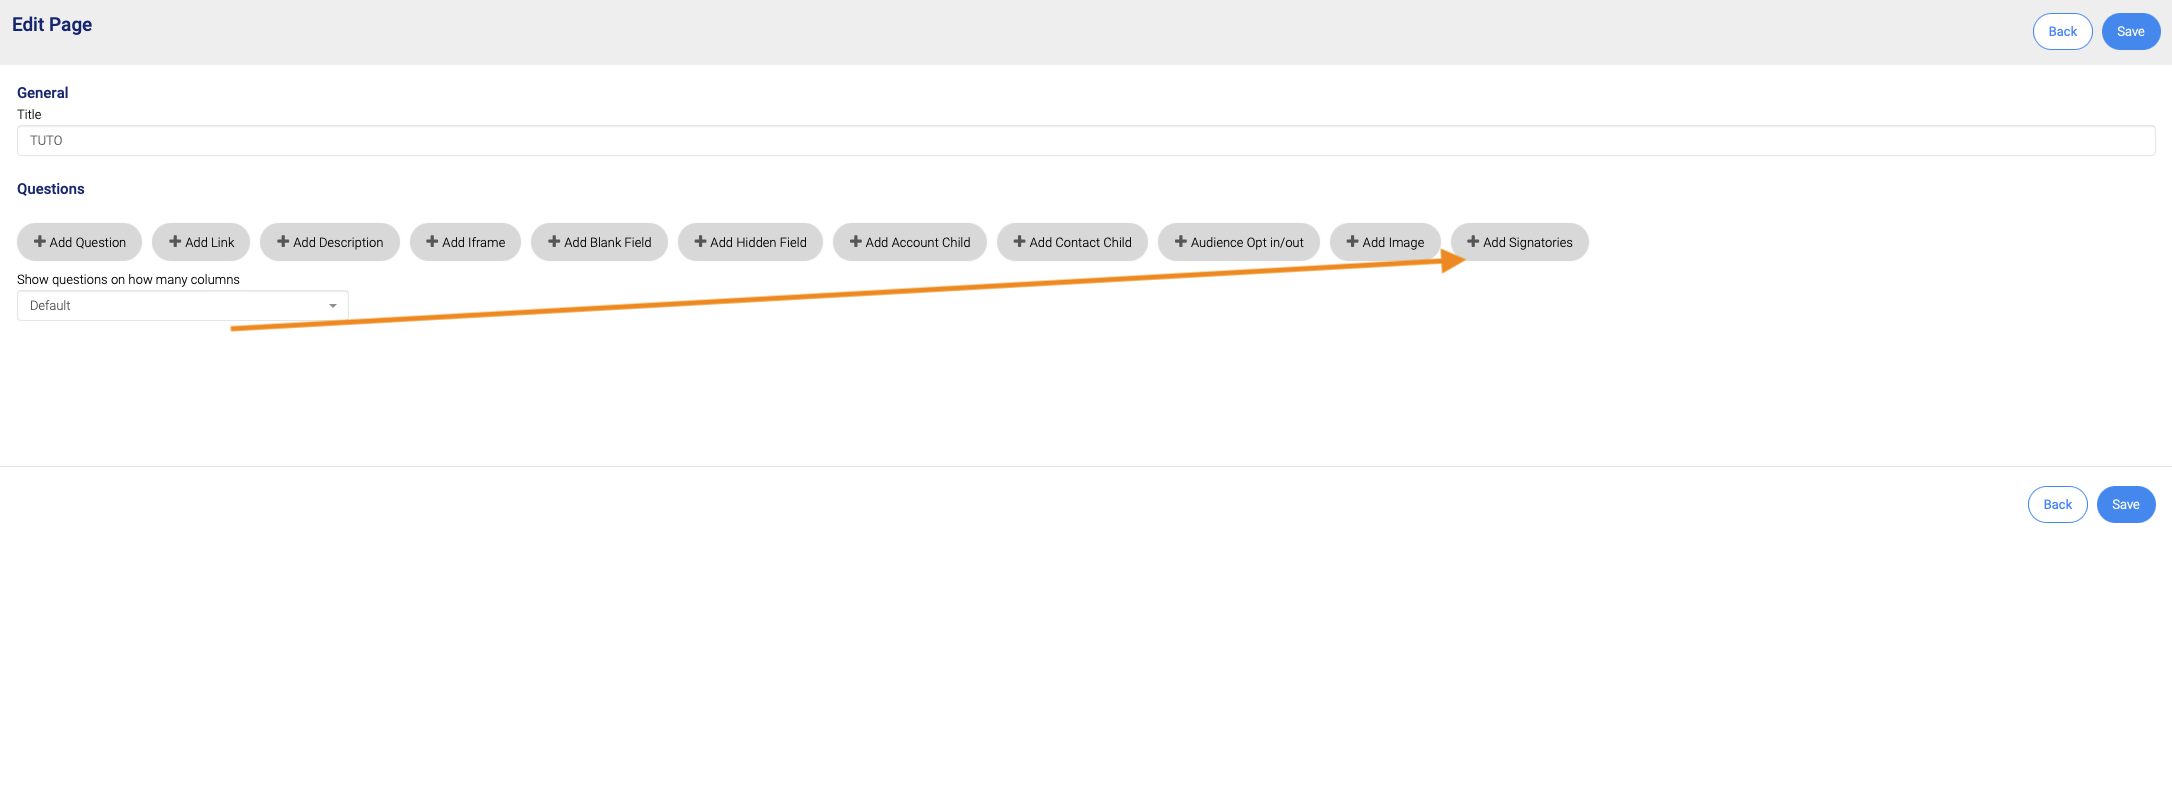

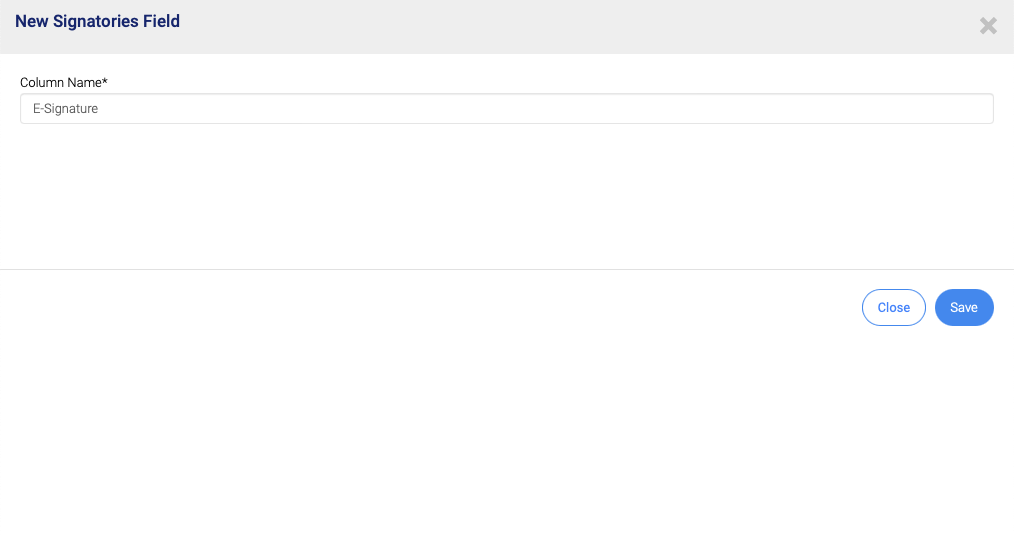
- Finally, enter a Column Name and click on Save to save your Form.
Remember: Don't forget to Save your Page after making final changes.
Sending the Form
In this tutorial, we will send the Form to a Contact.
-
Go to Contacts.
-
Click on the Contact you want to request an E-Signature for the Form from.
-
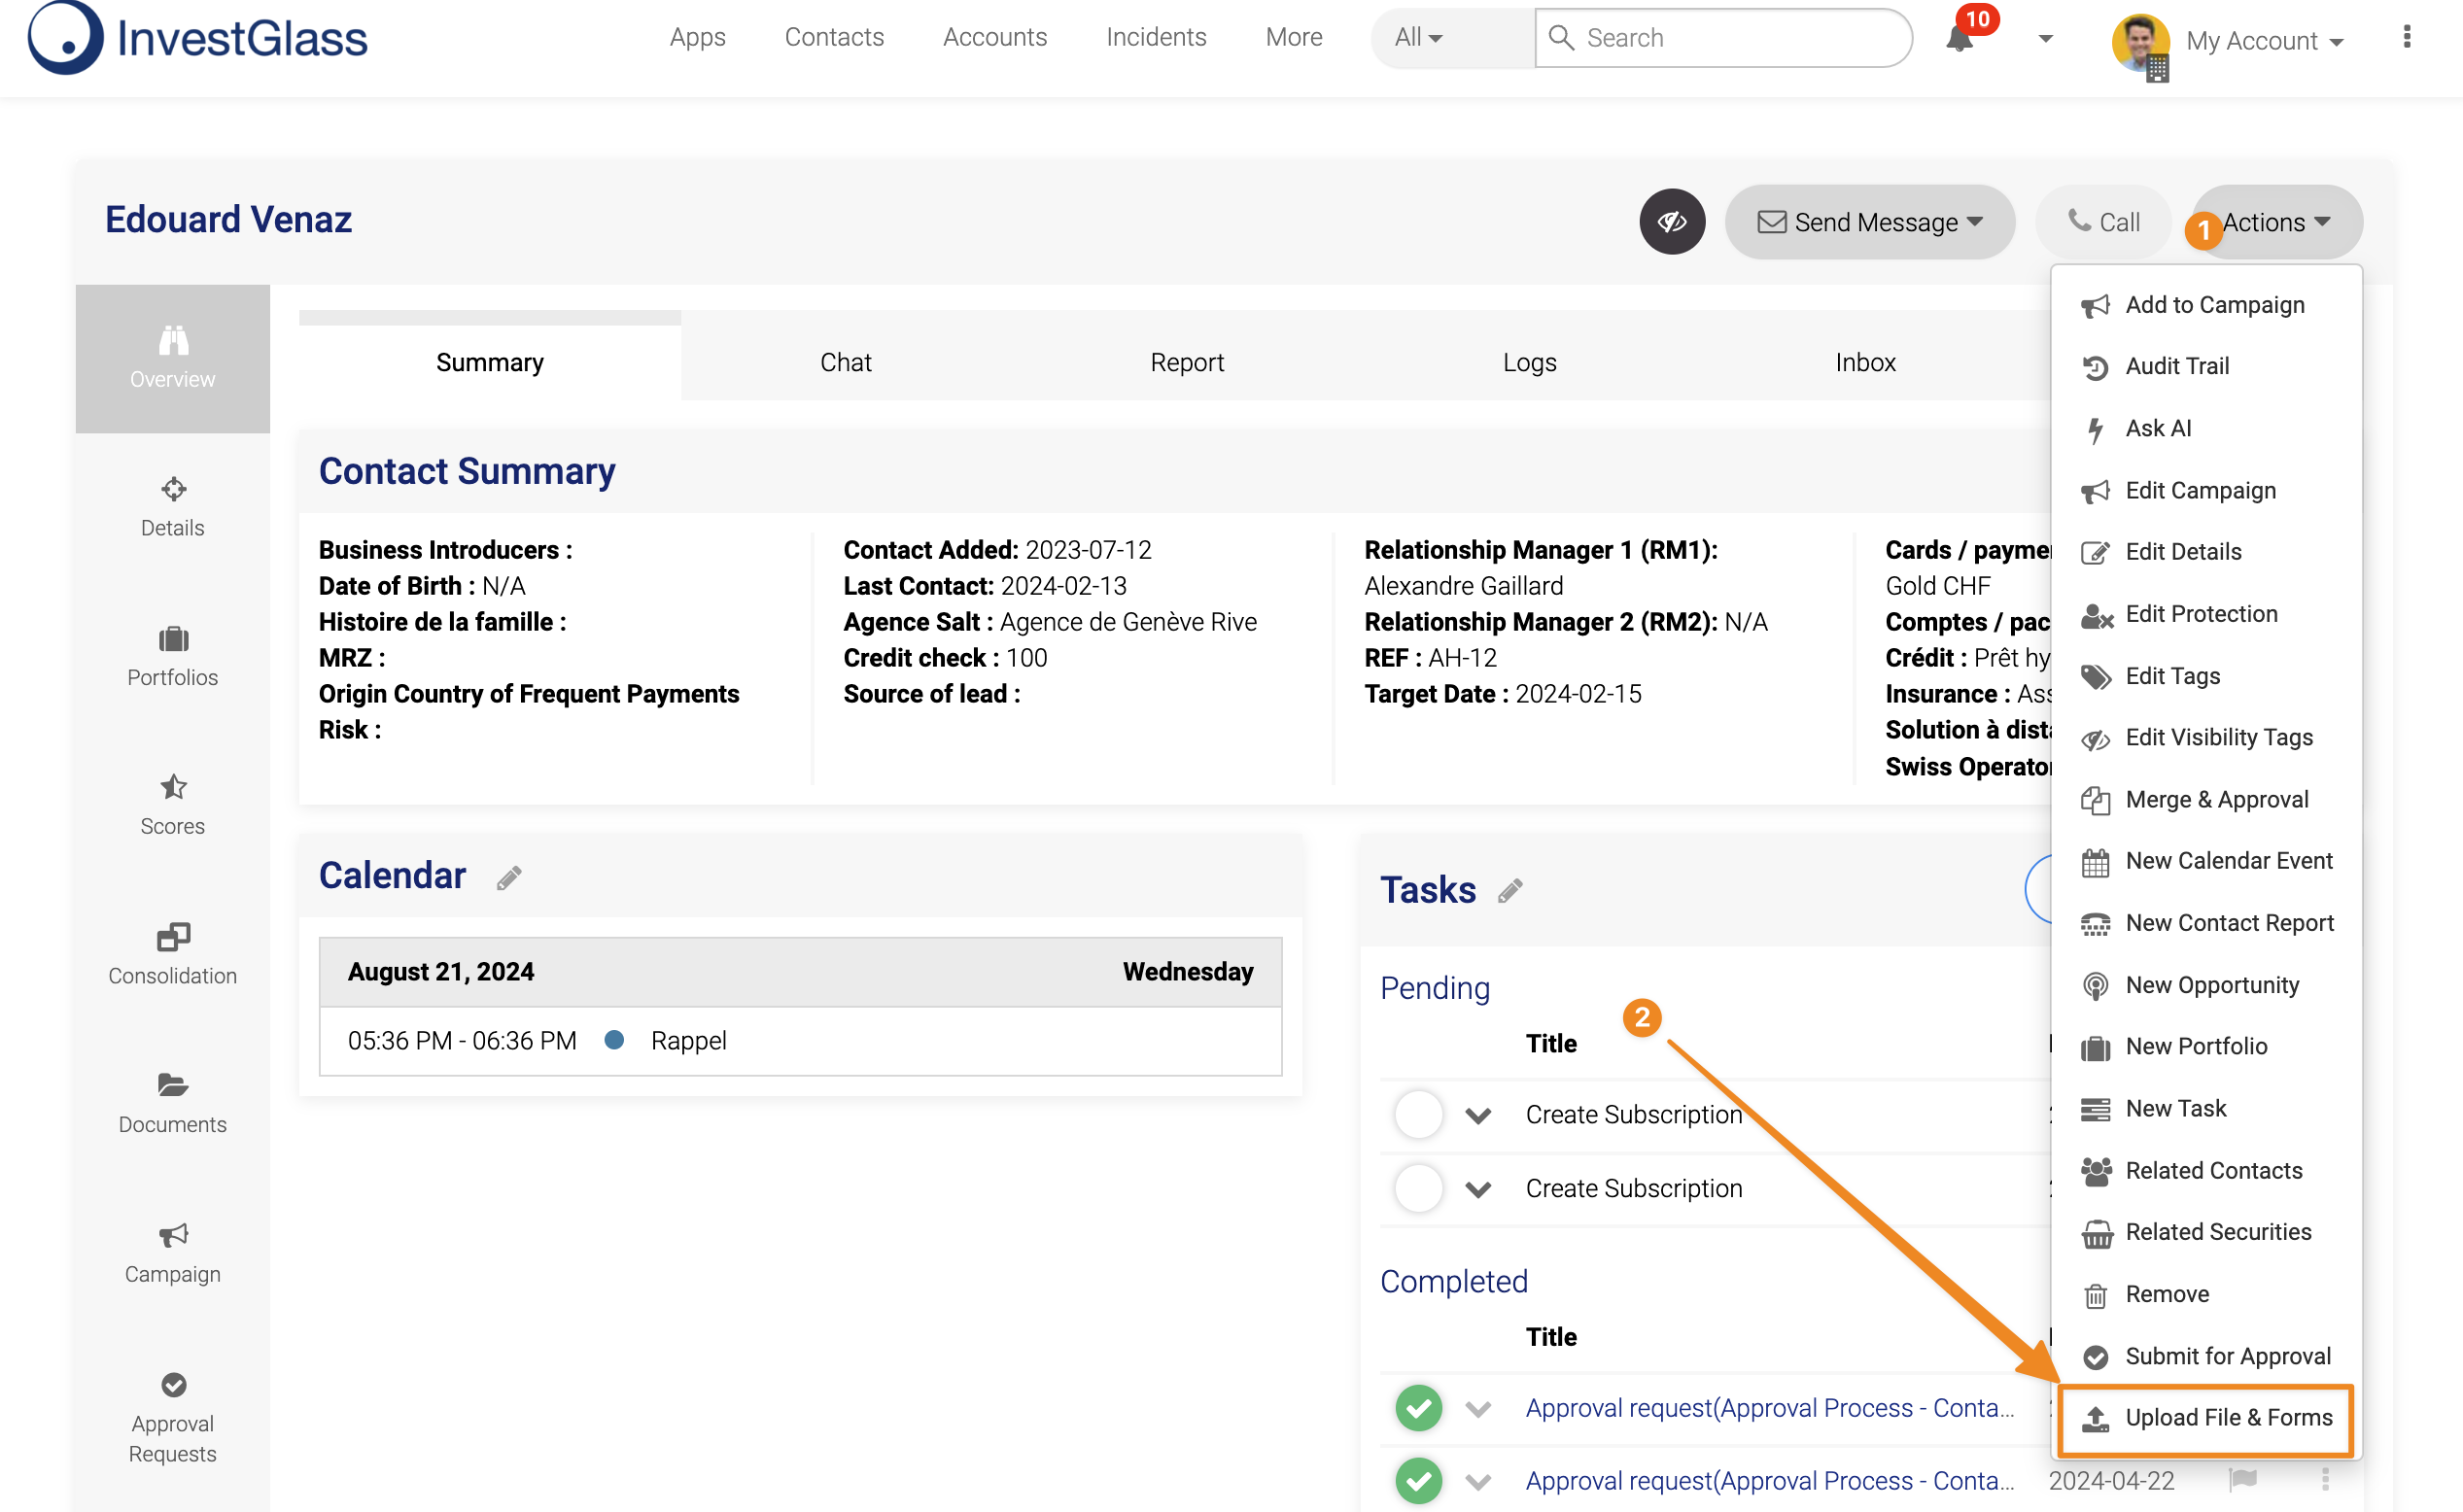
Once on the Contact Page, Click on Actions (1) and select Upload File & Forms (2).
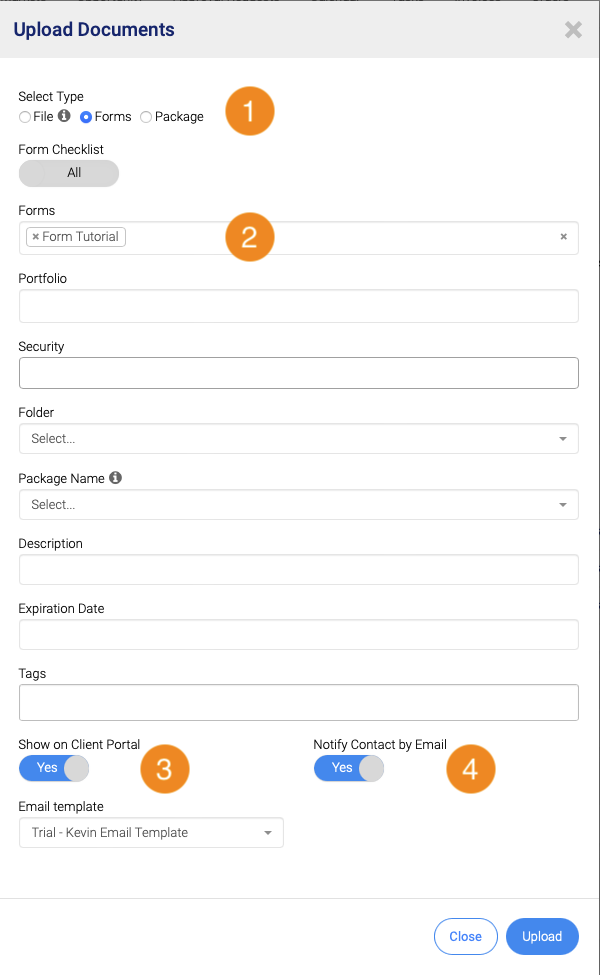
- In the Select Type section, ensure you select the Forms option (1).
In the Forms section, type or select the name of the Form you previously created.
If you want to display the Form on the Client Portal, enable the Show on Client Portal option (3).
We also recommend enabling Notify Contact by Email (4) to inform the Contact about the new Form received. Don't forget to click the Upload button to send the Form to your Contact.
Answering the Form
After your upload, your Contact will immediately receive the Form in the Documents and Notifications section.
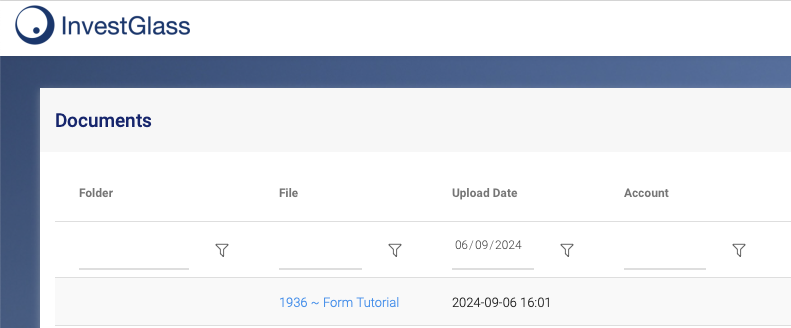
Once the Contact clicks on it, they can complete the Form
and Submit their personalized response and/or E-Signature.
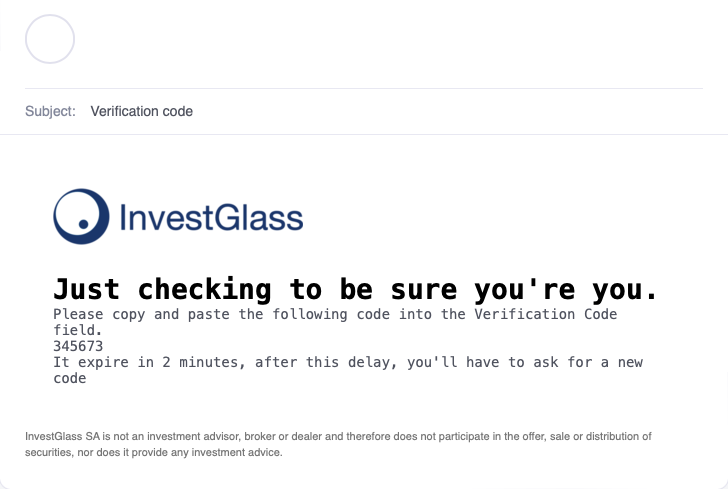
As specified in this tutorial, the 2FA validation will be sent after the form is completed.
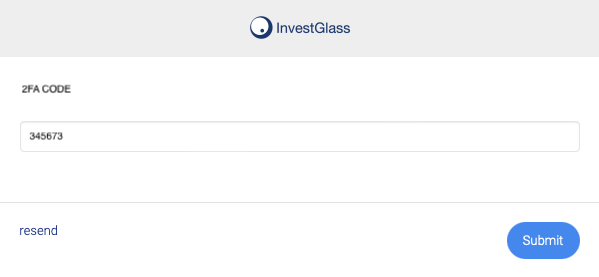
The Contact will need to copy and paste the 6-digit 2FA code before submitting their response.
Once the Contact enters the 6-digit 2FA code and clicks Submit, the Form is sent.
Retrieving the Form Answers and E-Signature
-
Go to Contacts.
-
Click on the Contact you previously sent the form to.
-
Once on the Contact Page, click on Documents.
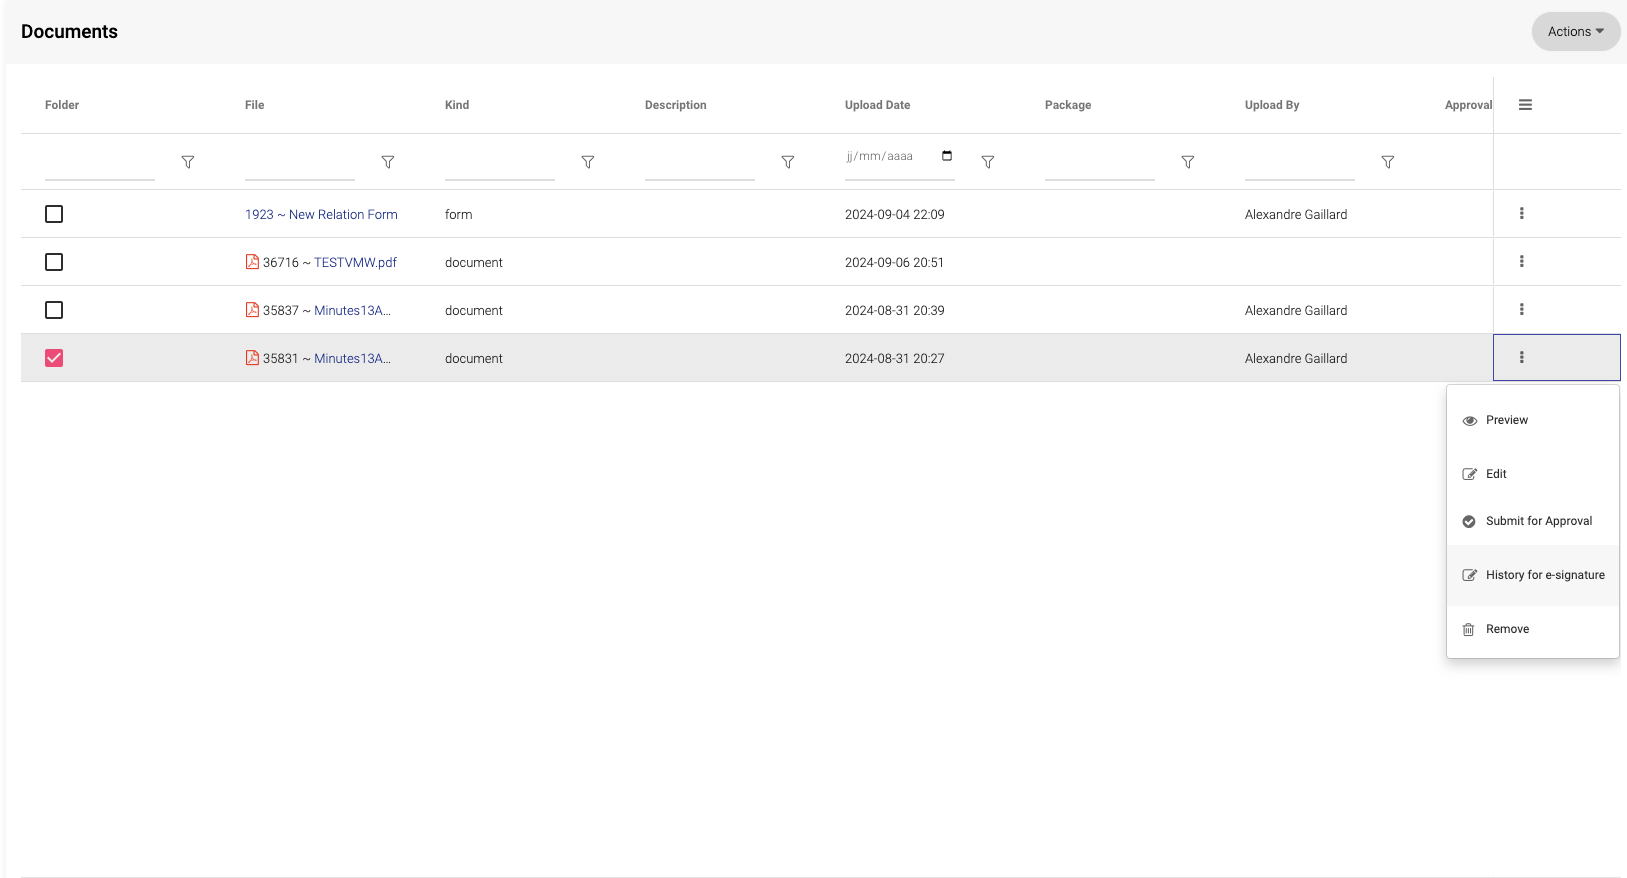
Under E-Signature status, you can check whether the form has been signed or if further action is required.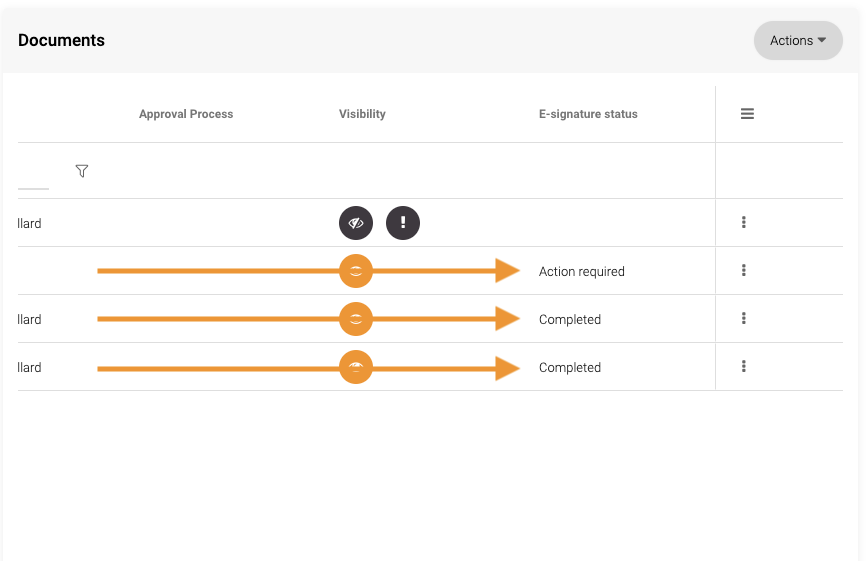
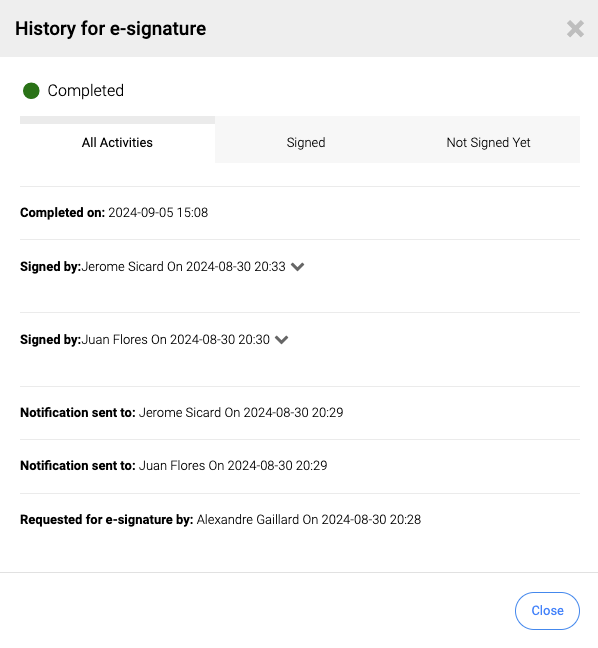
For any document requiring an E-Signature, you can view the E-Signature history by clicking on the three dots (•••) next to the document, then selecting History for e-signature.
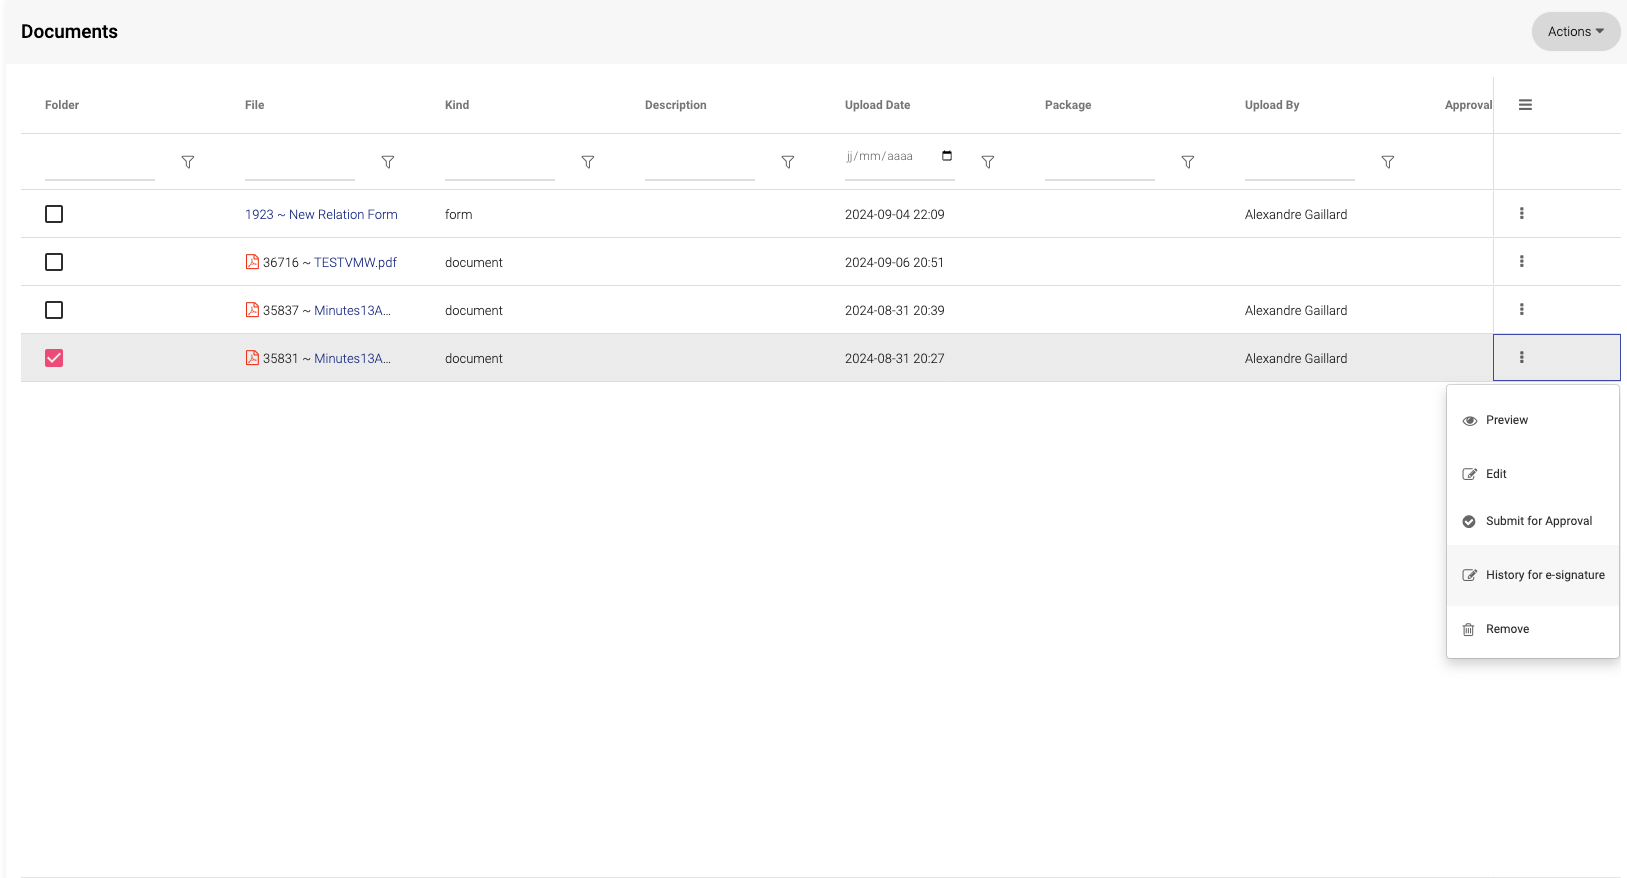
You can then monitor each individual E-Signature status and view the signatories.
Managing Signatories for Accounts, Relations, or Contacts
Each Account, Relation, or Contact can have designated signatories, and there are two ways to update the signatories:
-
Edit Account/Relation/Contact.
-
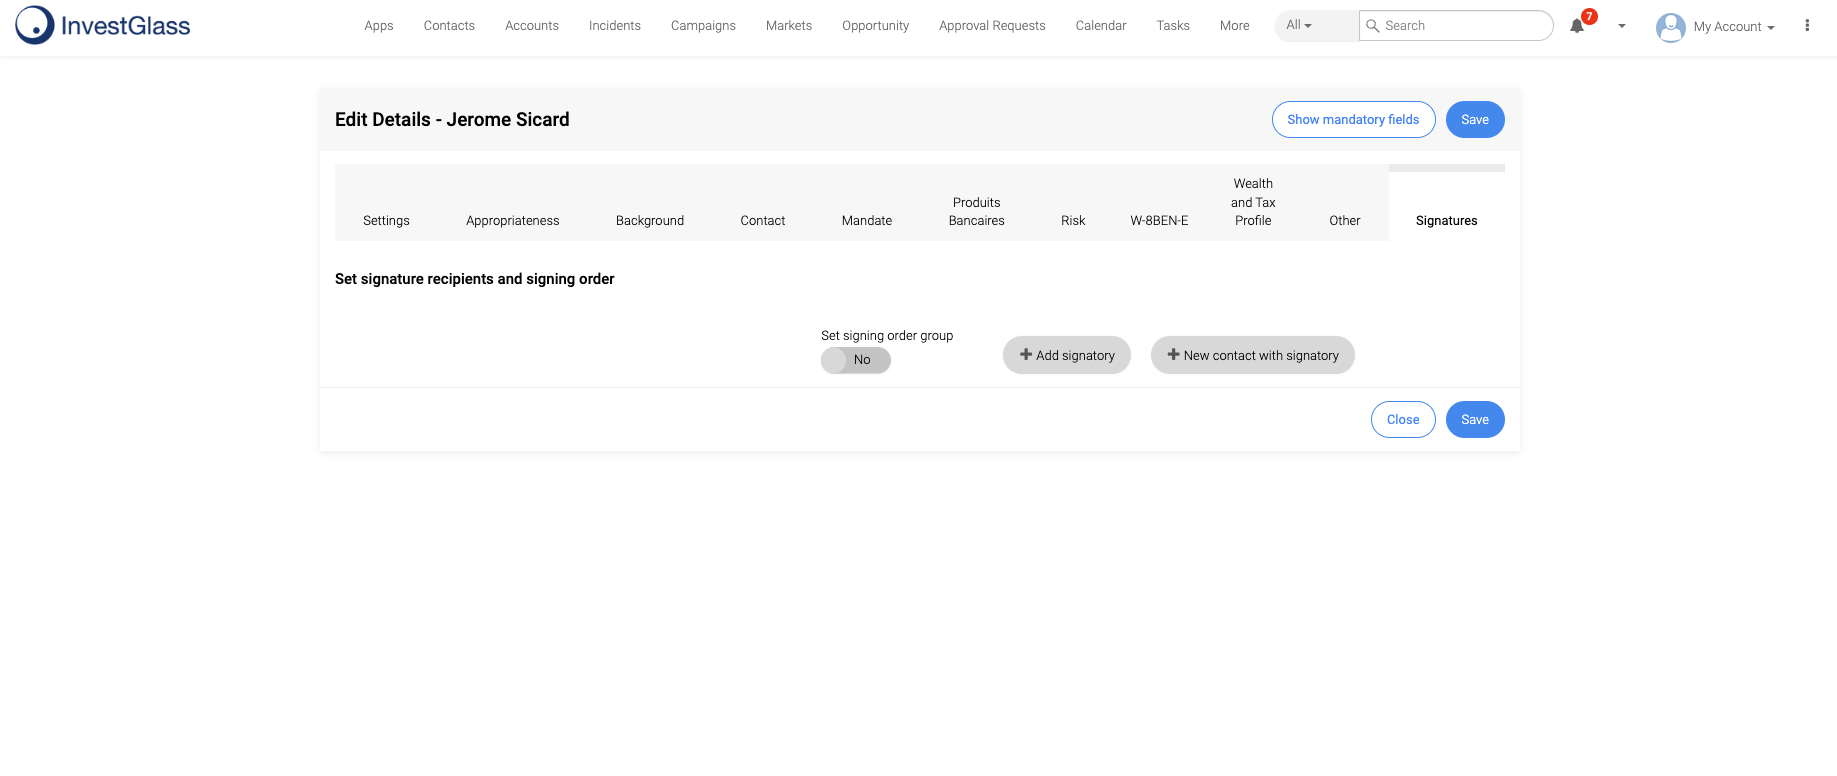
Select the Signatures Tab:
-
Here, you can Add Signatories, Edit, or Remove signatories as needed.
Creating Your First E-signature for a Signatory Form document
Create a form specifically designed to collect signatories information.
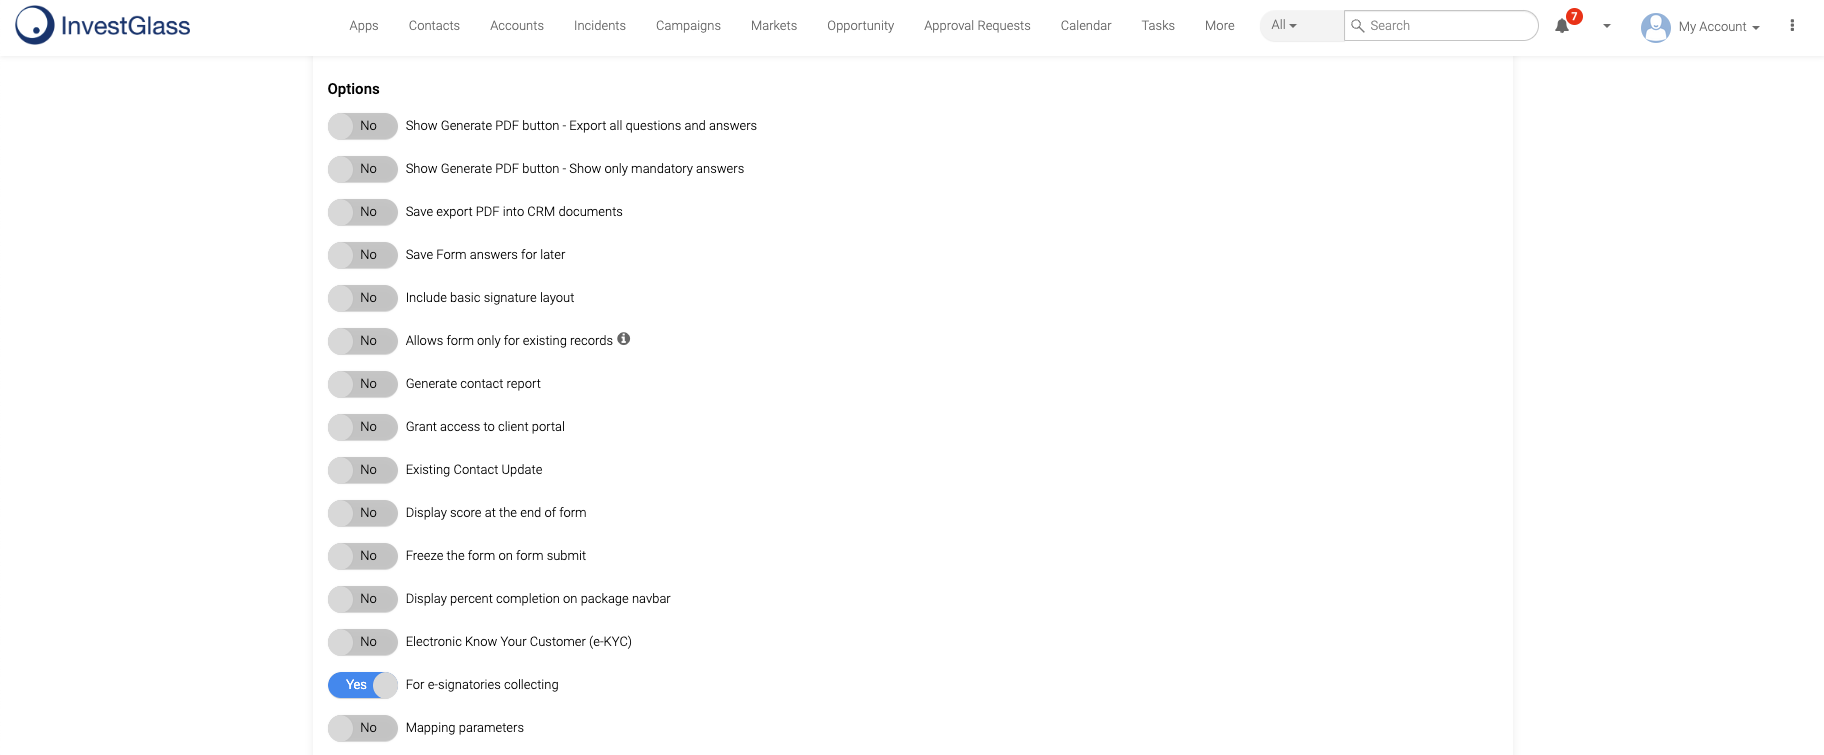
This can be done by enabling the For E-signatories Collecting toggle, which converts the form into a signatories form.
To create a Signatories Form:
- Go to My Account, then click on Company .
- On the left, scroll down and Select Forms.
- At the top of the page, Click on New Form, then select Form.
- Ensure the For E-signatories Collecting toggle is enabled when setting up the form. This will ensure the form is used specifically for gathering signatory information.
Form Type Settings:
- For E-signatories Collecting: Enabled – The form becomes a Signatories Form, allowing you to collect and manage signatories' details.
- For E-signatories Collecting: Disabled – The form functions as a regular form, not specifically designed for collecting signatories.

Updated 11 months ago
